How to do facial massage at home
How to do facial massage at home
Sometimes we all need a little pamper time. Whatever is on your mind, taking a moment to reset, relax and recharge can work wonders, and incorporating facial massage into your skincare routine is a great way to bring spa-level relaxation into your everyday life. Your skin will love you for it, too.
The secret to great, glowing skin is, quite literally, at your fingertips. Combining facial massage with targeted moisturising creams and facial treatments can help to improve the look and feel of your skin, while also releasing tension and helping you relax after a long day.
Read on for our guide to facial massage and DIY facial treatments, including a simple step-by-step facial massage to try at home.

Benefits of facial massage
There are many purported benefits of facial massage, some of which go back hundreds of years.
Helps release muscle tension.
As you would expect with any massage, gently massaging the facial muscles helps to reduce tension. You may not realise you have tension in your face, however jaw clenching is a common response to everyday stressors, leading to knots and tension in that area, while frequent screentime can cause tension around the eye area and between the brows. Just as a masseuse would work away on the knots in your shoulders, regular targeted facial movements can help relax these areas.
De-stresses.
When life is moving at 100 miles per hour, it can be tricky to find time for yourself. A facial massage is a relatively quick, easy way to turn skincare into a form of self-care, especially at the end of a long, busy day. To enhance the relaxation benefits, turn your bathroom into a mini sanctuary with an aromatherapy candle or mist and a relaxing spa playlist.
Helps to boost circulation.
Ever had an amazing professional facial? That gorgeous lit-from-within glow is partly due to facial massage stimulating the blood flow to the skin. This in turn helps to promote oxygen flow to the skin, perking up dull skin and boosting radiance.
Promotes lymphatic drainage.
The lymphatic system is responsible for maintaining the body’s fluid balance and supporting immune system function. Gentle facial massage is believed to help to promote the movement of lymphatic fluid in the face and neck area, stimulating lymphatic drainage and reducing puffiness and water retention. For this specific benefit, you may need a more tailored lymphatic drainage massage routine.
Experts recommend massaging your face daily for best results, though this could be as little as five minutes a day.
When is the best time for a facial massage?
We recommend incorporating facial massage into your existing regime, ideally at the moisturiser stage to ensure there’s enough glide to avoid dragging or damaging the skin. Though there are de-stressing massage techniques you can do throughout the day to ease tension, it’s also best to massage clean, makeup-free skin to avoid breakouts.
What are the best products for facial massage?
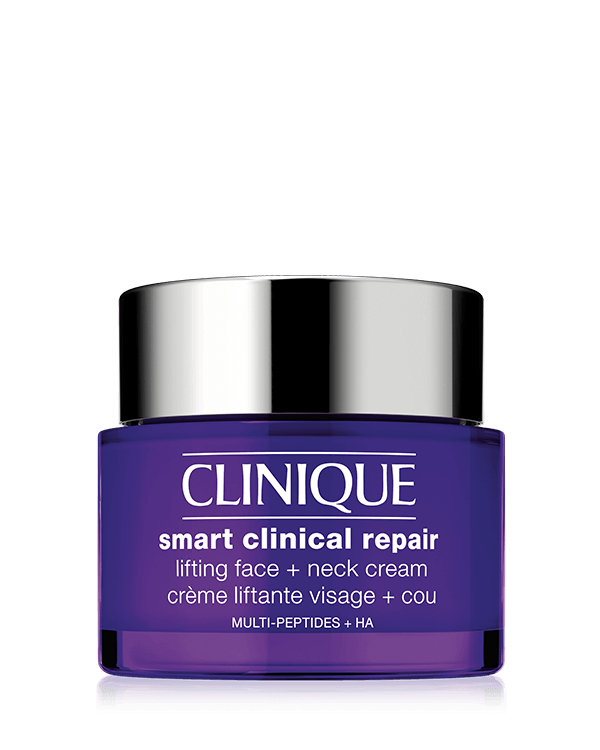
For an effective facial massage, you may prefer a richer moisturiser than usual. We recommend the NEW Clinique Smart Clinical Repair™ Lifting Face + Neck Cream, which is enriched with fortifying multi-peptides, hyaluronic acid, jojoba oil and shea butter to reduce the look of lines and wrinkles, hydrate and leave skin looking more lifted. We suggest applying your usual amount to begin with, then adding a little more if needed throughout the massage.
Before you begin, thoroughly clean your face with gentle cleanser like Liquid Facial Soap Mild. This step is particularly important, as skipping your cleanse risks spreading pore-clogging dirt and debris around the face. Following your cleanse (or double cleanse, if you are wearing makeup), dry your face and neck with a clean face cloth, thoroughly wash your hands, then pat your chosen facial cream or massage oil into the face, neck and chest. You can use facial massage tools here, such as a gua sha, sculpting roller or jade roller, but fingertips are every bit as effective.
Using gentle pressure, massage behind the ears with your index fingertips in small circular motions, moving down the sides of the neck towards the collarbones. Repeat three to five times.
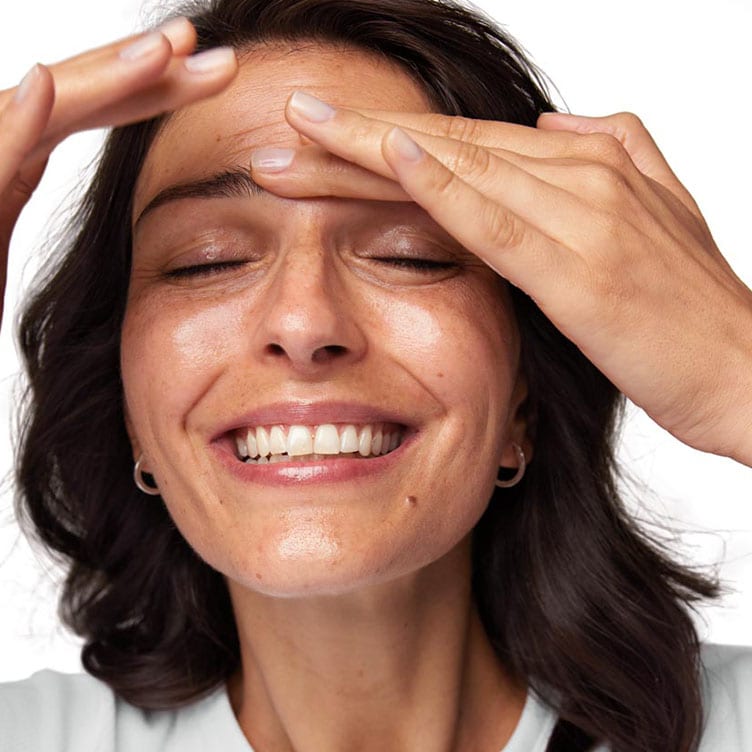
Step 2: Smooth the forehead.
Next, place your index and middle fingers between your brows. With medium pressure, slide up from the browbone to the hair line. Repeat in upward motions, moving out towards the temples to cover the whole forehead. Repeat three to five times.
Step 3: Massage the nose and eye area.
Using your index fingertips, glide down the bridge of the nose, then very gently sweep out under the eyes, towards the temples. Apply firmer pressure at the temples then repeat five times.
Step 4: Contour the cheekbones.
Place the knuckles of your index fingers on either side of your nostrils, then sweep out under the cheekbones with gentle but firm pressure, moving up towards the temples in a lifting motion. Repeat five times.
Step 5: Massage the nasolabial folds.
Place the fingertips of your hands along the nasolabial folds or laughter lines. Applying gentle but firm pressure, sweep outwards underneath the cheekbones to the ears, then push your fingers down the side of the neck towards the collarbones. Repeat three to five times.
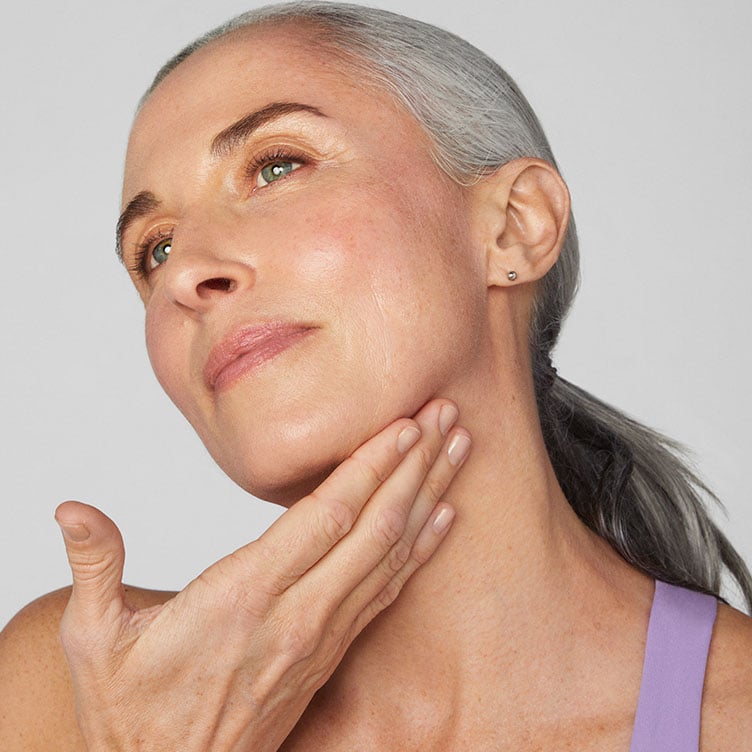
Step 6: Chin and jaw.
Place the knuckles of your index fingers beneath the jawline, with the knuckles of your middle fingers resting above. Using gentle but firm pressure, work along the jawline from the centre of the chin out towards the ears. Repeat five times.
Step 7: Lift + firm the neck.
Starting from your right collarbone, sweep your fingertips up along the neck towards the jawline, alternating your hands as you move across from right to left. Repeat five times.
Step 8: Finishing touches.
Lastly, starting from your left temple, gently sweep your fingertips across the forehead, apply a little pressure at the right temple, then sweep down the neck. Repeat this motion using your left hand, working from right to left. Repeat three times on each side.
Need more help creating your ideal skincare routine? Book in for a complimentary Skin School consultation, led by one of our own specially trained skin experts. Following your initial consultation, we'll offer you 15% off* your next order with Clinique.
* Terms and conditions apply.
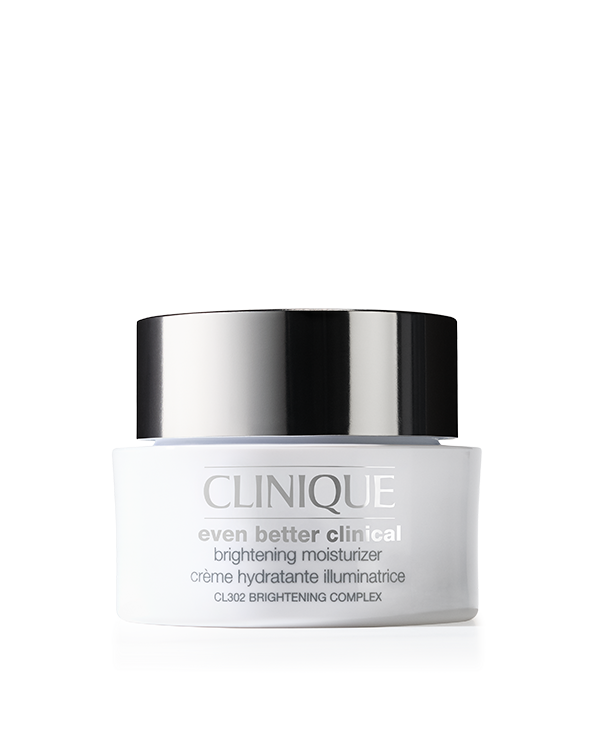
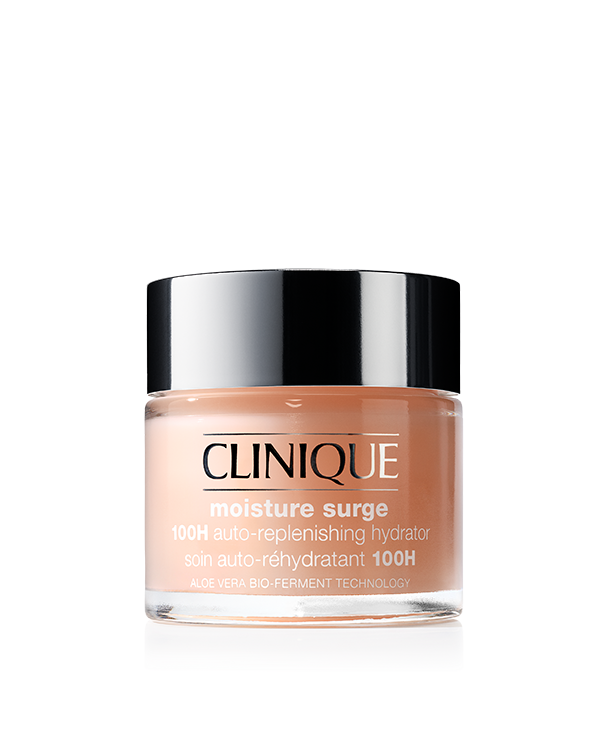
Shop moisturisers: