3 Steps To
Contouring

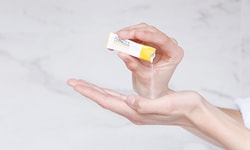
Professional makeup artists and beauty vloggers could spend hours contouring, defining every facial feature to perfection. But in everyday life, that's not really an option. That's why we love makeup artist and Clinique China Colour Expert Kim Zhang's real-girl contouring technique. 3 products, 3 steps, but you only need about 2 minutes. It's pretty easy.
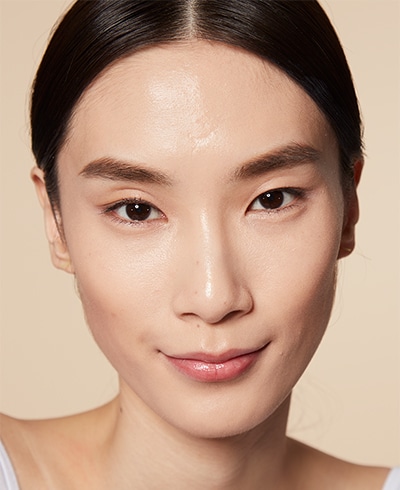
For those new to contouring, the basic premise is simple: keep the center of your face light to bring those features forward, and then create shadows around the edges of your face to create more depth and dimension. This will make all the high points of your features pop and look more defined. To get the most natural, non-streaky finish, stick to products with the same texture (i.e. all cream or all powder) and blend blend blend (then blend some more).

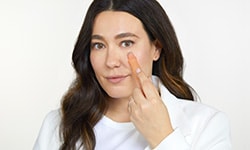
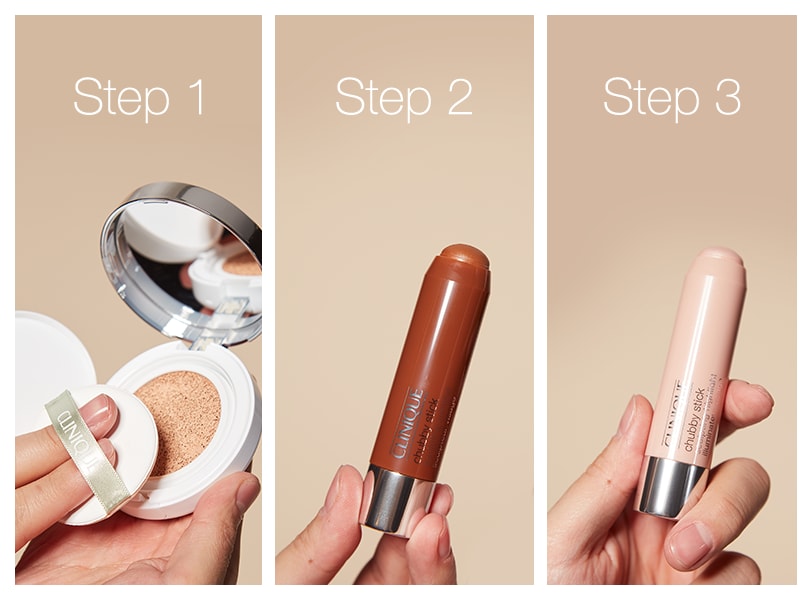
Step 1: Create a smooth, even canvas.
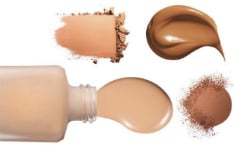
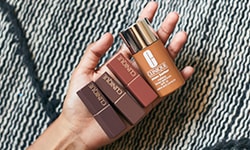
Even out your skin tone and bump up your natural glow with a fluid foundation that provides buildable coverage and a natural finish. Kim loves Super City Block BB Cushion Compact Broad Spectrum SPF 50, which blends seamlessly, contains skin-loving antioxidants and provides high-level SPF protection. Use the puff applicator to pat and roll the foundation all over, tapping a few more times on areas that need more coverage.

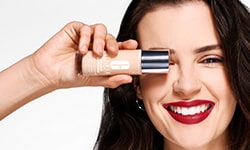
Step 2: Define your cheekbones.
Suck your cheeks in, then use Chubby Stick Sculpting Contour to draw a sideways V shape underneath your cheekbones, pointing towards your mouth. Fill it in completely, then blend downwards using a flat foundation brush or just your fingertips. What makes this product a total game changer is the shimmer-less, mess-free cream formula that blends easily for a natural, never streaky, finish. You can also lightly run the Sculpting Contour Stick along your temples, hairline and jawline. Or use the edge to draw a line down each side of your nose and blend outwards to subtly slim and shape.
.gif)
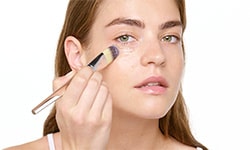
Step 3: Brighten the center of your face.
To make cheekbones really pop, swipe Chubby Stick Sculpting Highlight, a creamy highlighting stick with light-reflecting pigments (not glitter, which is key), across the tops of each cheekbone. Pat with your fingers to blend. You can also dab it straight down the center of your nose and just along the ridge of your Cupid's Bow. Swipe. Blend. Done. Who said contouring had to be complicated?

Photos: Anairam | Words: Hilary Presley
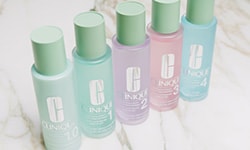
Shop the Story


![]()
![]()
![]()
![]()


_144x86.jpg)